Home Pedicure
There’s nothing like a pedicure to make you feel pampered and relaxed, and the best part is that you don’t have to spend loads of money at a fancy salon to get one. These days it’s super easy to do a fantastic home pedicure with just a few simple tools and techniques.
This article goes over the must-have supplies and preparation for a home pedicure before taking you through how to do a pedicure step by step. It also has some top tips for ensuring that the results of your DIY pedicure last as long as possible.
At-home pedicure essentials
The first part of your preparation is to gather all the tools necessary to do a perfect DIY pedicure. There is some flexibility in this depending on the specific type of home pedicure you’re interested in; however, these are the sort of supplies you’ll want to have on hand:
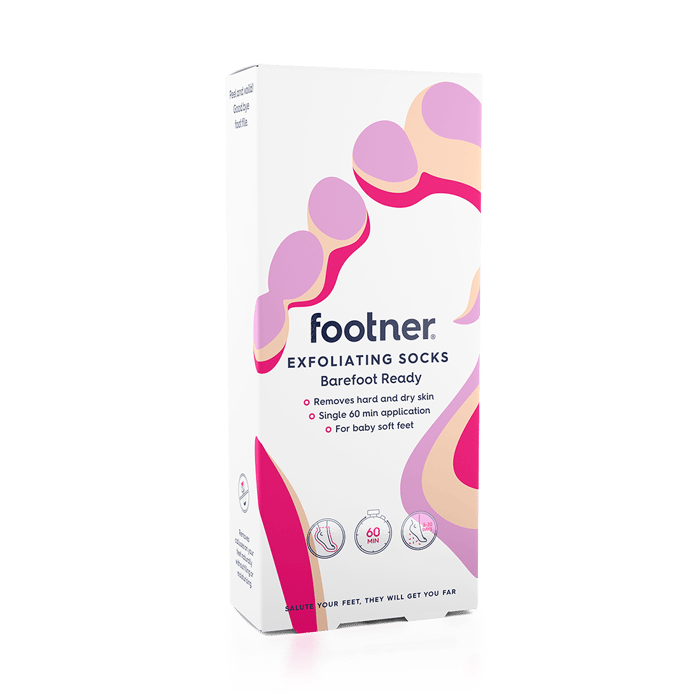
- Footner exfoliating socks
- Nail polish remover
- At-home pedicure bowl or basin
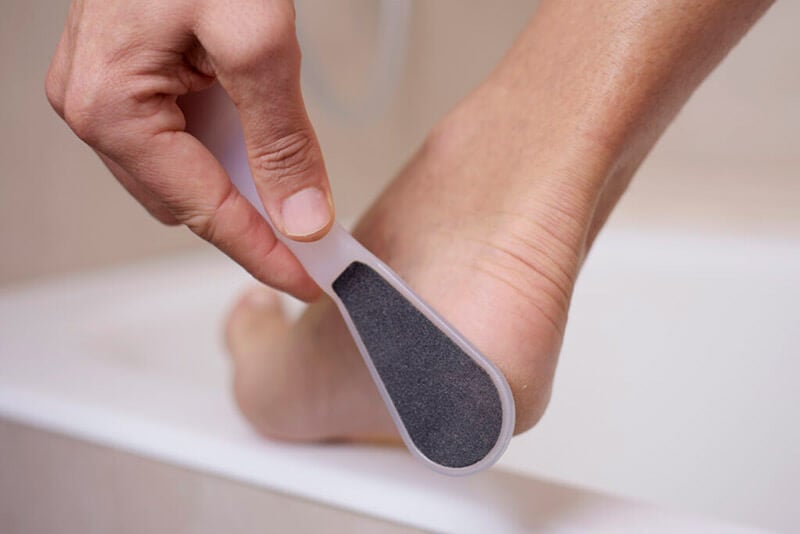
- Pumice stone or foot file
- Nail clippers
- Nail file
- Foot scrub
- Heel balm (especially if you want a pedicure at home for cracked heels)
- Foot lotion (e.g., for dry feet)
- Toe separator
- Nail polish – base coat, colour, and top coat (not strictly necessary, particularly for a pedicure for men at home)
- Optional extras like scented candles for atmosphere
If you don’t have everything you need, a quick at-home pedicure Amazon search will soon correct that!
Preparation for a home pedicure
In addition to getting the materials listed above, there are a couple more preparation steps you can take before getting started doing a foot pedicure at home. For example, if you truly want feet that are baby soft and smooth, you might want to do a foot peel using Footner exfoliating socks first. These help to remove the dead, hard, and dry skin from your feet, revealing fresh new skin beneath. This makes them a great choice when you’re planning an at home pedicure dead skin removal.
There is a reason these peels are part of the preparation rather than the home pedicure itself. Although using foot socks that remove dead skin only takes around 60 minutes, the actual peeling process that follows will occur over a period of 1 to 14 days. As such, if you want to use them before doing a DIY pedicure at home, you’ll need to plan ahead and do it two weeks in advance.
Another important step before starting your manicure and pedicure at home is to take off any existing polish you have on your nails. You can do this by soaking a cotton wool pad in nail varnish remover, then gently pressing it on the nail for a few seconds before wiping all the colour off. Then you’ll be ready to begin your homemade pedicure!

Home pedicure step by step
Step 1
The first of your pedicure steps at home will be to create the right ambience. That might mean lighting some scented candles, putting on some calming music, opening a box of chocolates, whatever makes you feel relaxed and evokes those all-important spa vibes.
Step 2
When the scene is set and you’re ready to begin your self pedicure, start by soaking your feet in warm water. You can do this in your bathtub, in an at-home pedicure foot bath, or any other kind of basin that’s big enough. The purpose of this step is to soften any hard or thick skin on your feet, making it key for an at-home pedicure for dry, cracked feet. Feel free to add some Epsom salts, essential oils, or other similar products to the water, and leave your feet to soak for about 5 minutes.
Step 3
Once your feet have soaked, dry them thoroughly with a towel – including between the toes – before exfoliating to get rid of any dead skin. You can do this using Footner Exfoliating Socks to hone in on troublesome sections of your feet. Doing a foot pedicure at home should never hurt. Once you’ve done that, it can be nice to follow it up with an all-over foot scrub.
Step 4
The next step in your at-home DIY pedicure is to tackle your toenails. Using a nail clipper, cut them straight across (not too short) to help prevent ingrown toenails. Then you can use a nail file to shape and smoothen the edges until you’re happy.
Step 5
With the hard work done, it’s time to move on to moisturising. This step is particularly important for an at-home pedicure for dry feet. Take a foot cream of your choice and massage it into your feet and ankles to rehydrate your skin. For extra impact, you can do this before bed and leave the lotion to work overnight – socks will help to keep the product in place and your sheets clean.
Don’t forget to focus on those areas which are especially prone to drying out, such as the heels. If you really want the best at-home pedicure, consider also using a special heel balm designed to help with cracked heels and heel fissures.
Step 6
Next, it’s time to add a splash of colour by painting your nails. Always begin with a base coat because this acts as a protective layer to stop your nails from getting stained and also ensures that your manicure/pedicure at home lasts longer.
Once it’s dry, you can move on to the colour. Use a toe separator to stop the polish from smudging, and apply two thin coats to each nail (waiting for a few minutes between each to allow them to dry). Lastly, use a top coat to protect the colour and keep it looking glossy and chip-free for longer.
Always use a base coat and top coat when applying nail varnish to protect your nails and help the colour last longer.
Top tips for getting the most out of a home pedicure
Once you’ve put all this effort into a top at-home french pedicure, you want to make sure that the results last as long as possible. Here are some tips for how to do that:
- Wear shoes that fit properly, offer plenty of support and are comfortable. If they pinch your feet or rub against your skin, it can cause calluses and blisters.
- Wash your feet every day and dry them thoroughly.
- Moisturise your feet every day to keep your skin soft and smooth for as long as possible after a DIY pedicure for rough feet.
- Don’t walk around outside barefoot too much, as this can cause the skin on your feet to thicken again after an at-home pedicure DIY.
- Try not to wear high heels or open-backed shoes too often, as they put extra pressure on your heels. This can lead to thick skin and cracks, resulting in the need for another pedi at home.
- Drink plenty of water to keep the skin all over your body hydrated (6-8 glasses a day is a good amount to aim for).
- Use Footner exfoliating socks every 2-3 months to get rid of any dead skin that’s accumulated and keep your feet baby soft.
Home Pedicure FAQs
How can I give myself a pedicure at home?
Doing a home pedicure is easy! Simply soak your feet in warm water, use an exfoliating tool to gently remove any dry or hard skin, cut your toenails, and apply moisturiser, heel balm, or any other products you like. Then apply a base coat, your chosen colour of nail varnish, followed by a top coat. Alternatively, pop on a pair of Footner exfoliating socks and let them take care of the dead skin on your feet. Don’t fancy doing it yourself? Choose a home visit pedicure from a professional instead!
What is the best thing to soak your feet in for a pedicure?
When doing an at-home foot spa DIY session, you can use a bathtub or at-home pedicure bowl to soak your feet in warm water. For maximum benefit, add Epsom salts or any other type of refreshing bath salt to the mix. Some people also choose to use essential oils in the water.
Links & Sources
- www.cosmopolitan.com/style-beauty/beauty/a27754061/how-to-pedicure-at-home/
- www.superdrug.com/blog/tutorials/how-to-do-your-pedicure-at-home
- www.marieclaire.com/beauty/a5926/ultimate-diy-pedicure/
- www.goodhousekeeping.com/beauty/nails/a34522/why-base-coat-is-important/
- www.bustle.com/style/do-base-and-top-coats-work-nail-polish


